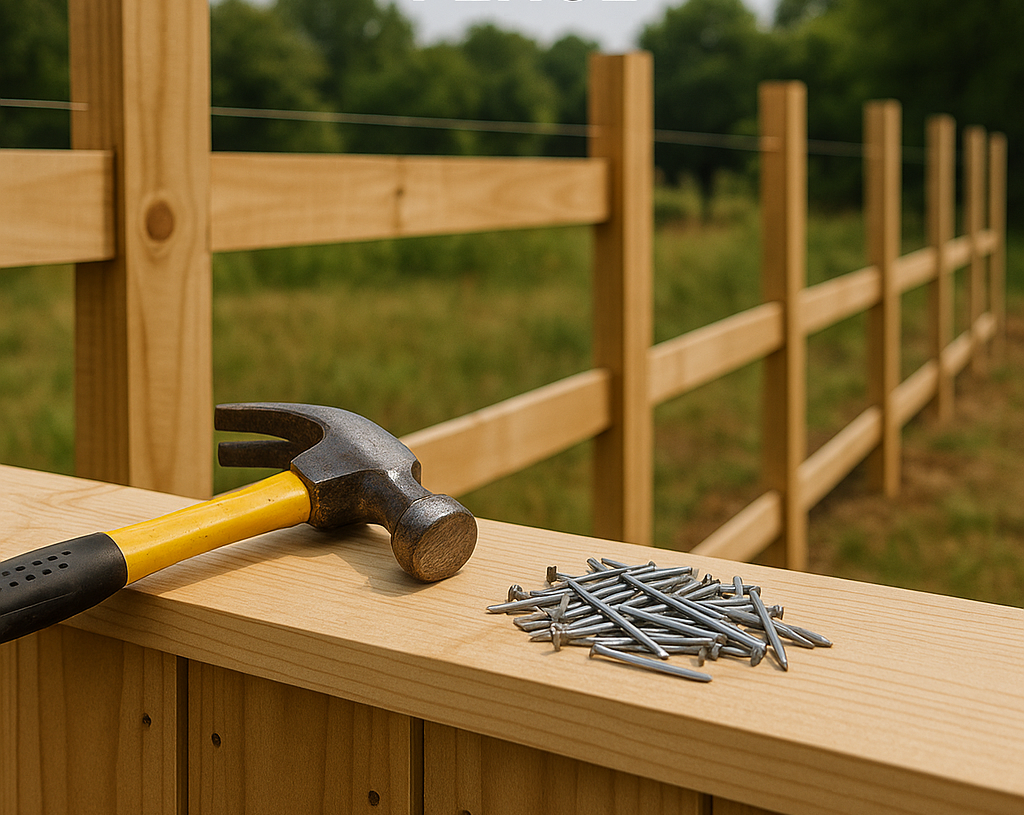
Building a wooden fence is a rewarding construction project that can enhance the security, privacy, and aesthetic appeal of your property. Whether you are a homeowner looking to add a boundary or a construction professional tackling a client’s project, understanding the step-by-step process is essential. This guide provides an expert, comprehensive approach to building a wooden fence, emphasizing quality, safety, and durability.
1. Wooden Fencing
Wooden fences have been a staple in construction for decades due to their natural look, versatility, and cost-effectiveness. They come in various styles such as picket, privacy, and post-and-rail, each serving different functional and aesthetic needs.
Why Choose Wood?
- Natural and attractive appearance
- Customizable in size, shape, and design
- Relatively easy to repair
- Eco-friendly when sourced responsibly
2. Planning and Preparation
Before beginning the construction of your wooden fence, thorough planning is critical.
- Assess the Purpose: Privacy, security, decorative, or boundary marking?
- Check Property Lines: Confirm boundary lines with a survey to avoid disputes.
- Local Regulations: Contact local building authorities for permit requirements, height restrictions, and utility lines.
- Budgeting: Account for materials, tools, labor (if hiring), and maintenance costs.
3. Materials and Tools Required
To build a durable wooden fence, gather quality materials and the right tools.
Materials
- Wooden posts (typically cedar, redwood, or pressure-treated pine)
- Fence boards or panels
- Rails (horizontal supports)
- Concrete mix for setting posts
- Galvanized nails or screws
- Gate hardware (hinges, latch, handle)
- Wood preservative or stain
Tools
- Tape measure
- String line and stakes
- Post hole digger or auger
- Level
- Hammer or nail gun
- Power drill
- Saw (circular or hand saw)
- Safety gear (gloves, goggles)
4. Step-by-Step Guide to Building a Wooden Fence
Step 1: Determine Fence Line and Measure
- Use stakes and string to outline the fence path.
- Measure total length and mark post locations evenly, usually 6 to 8 feet apart depending on fence style.
Step 2: Obtain Permits and Check Regulations
- Confirm all local building codes and utility locations to avoid costly mistakes.
- Apply for permits if necessary.
Step 3: Gather Materials and Tools
- Purchase all materials based on your measurements and style.
- Ensure tools are in good condition and ready for use.
Step 4: Mark Post Locations and Dig Holes
- Mark post locations along the string line.
- Dig holes at least 2 feet deep or below frost line, with a diameter about three times the post width.
Step 5: Set Fence Posts
- Place posts in holes ensuring they are plumb and aligned with string line.
- Pour concrete mix into holes to secure posts, allowing 24 to 48 hours to cure.
- Check alignment again before concrete sets.
Step 6: Attach Rails to Posts
- Once posts are set, attach horizontal rails to connect posts, typically 2 or 3 rails depending on fence height.
- Use galvanized screws or nails to prevent rusting.
Step 7: Install Fence Boards or Panels
- Attach vertical fence boards to rails with nails or screws, leaving small gaps if desired for airflow.
- Use a level to keep boards straight and uniform.
Step 8: Add Gates and Hardware
- Install gate posts if separate from fence posts.
- Attach gate with heavy-duty hinges and latch.
- Ensure gate swings freely and aligns properly.
Step 9: Finish and Treat the Wood
- Apply wood preservative, stain, or paint to protect against weather and insects.
- Allow adequate drying time before use.
5. Maintenance Tips for Longevity
- Inspect your fence annually for loose boards or posts.
- Reapply sealant or stain every 2-3 years.
- Clean dirt, mildew, or algae buildup with appropriate cleaners.
- Trim vegetation near the fence to prevent moisture damage.
6. Safety Considerations
- Always wear protective gloves and goggles during construction.
- Be cautious when handling tools and heavy materials.
- Check for underground utilities before digging.
- Ensure stable scaffolding or ladders if working at height.
7. Common Mistakes to Avoid
- Skipping Permits: Can lead to fines or forced removal.
- Poor Post Alignment: Causes weak, uneven fences.
- Inadequate Post Depth: Leads to unstable fencing.
- Using Untreated Wood: Results in faster decay.
- Ignoring Maintenance: Shortens fence lifespan.
8. Conclusion
Building a wooden fence is a practical construction project that enhances property value and functionality when done correctly. By following this expert step-by-step guide, adhering to local codes, and investing in quality materials, you can create a strong, beautiful fence that lasts for years. Proper planning, safety, and maintenance are the keys to success in any construction project, especially fencing.
More: Webnewsing.com


